Unity Products:Fake Interiors/Manual
Installation1. Open the FakeInteriors###.unitypackage or import it directly from the Asset Store tab. 2. After Unity loads it will display the “Importing package” window, select All and click Import 3. Fake Interiors packages hould now be installed in your Unity project and it should have the following directory structure:
Shader Overview
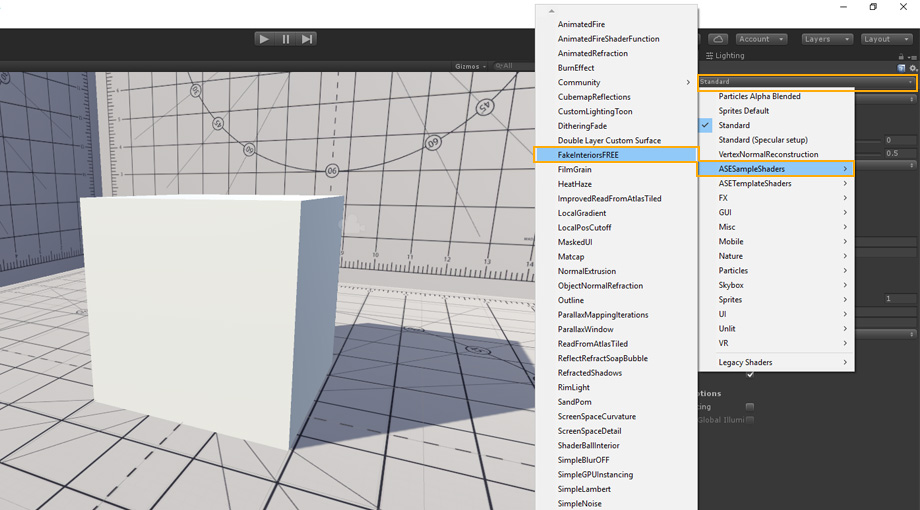
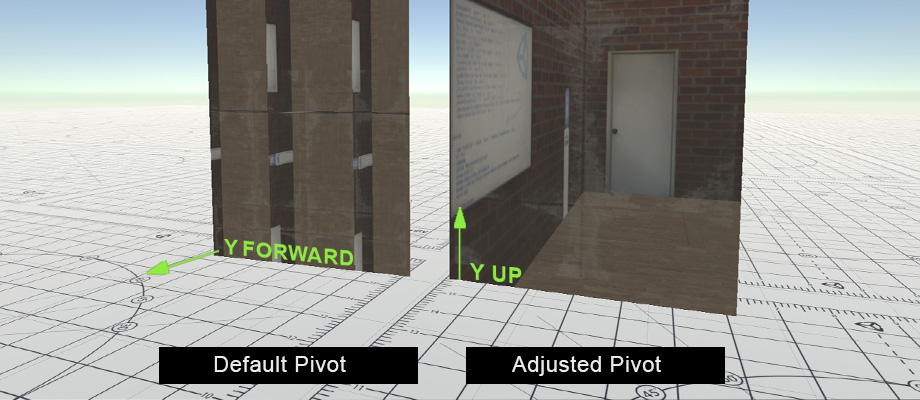
1. For reference, begin by selecting the Fake Interior shader. 2. When applying the effect to standard buildings, ensure that the Y axis of your mesh points up.
Mesh Requirements
The shader assumes that the Y axis is up, be sure to adjust your meshes as necessary. Simply setting the shader on a material applied to the default Unity Plane Mesh will likely not work as expected since the axis is not correctly setup for that purpose. Shader Setup
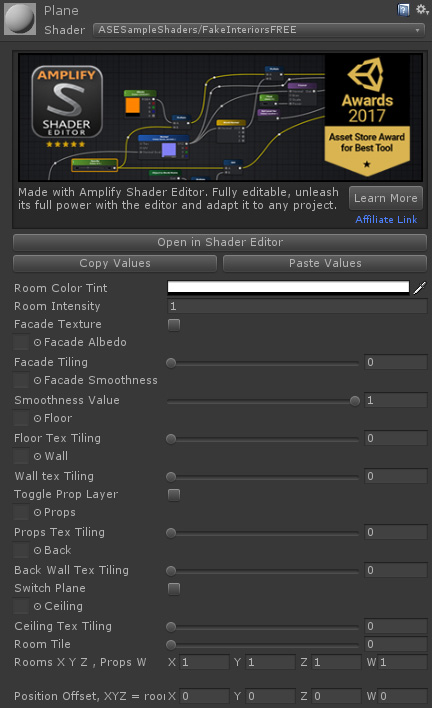
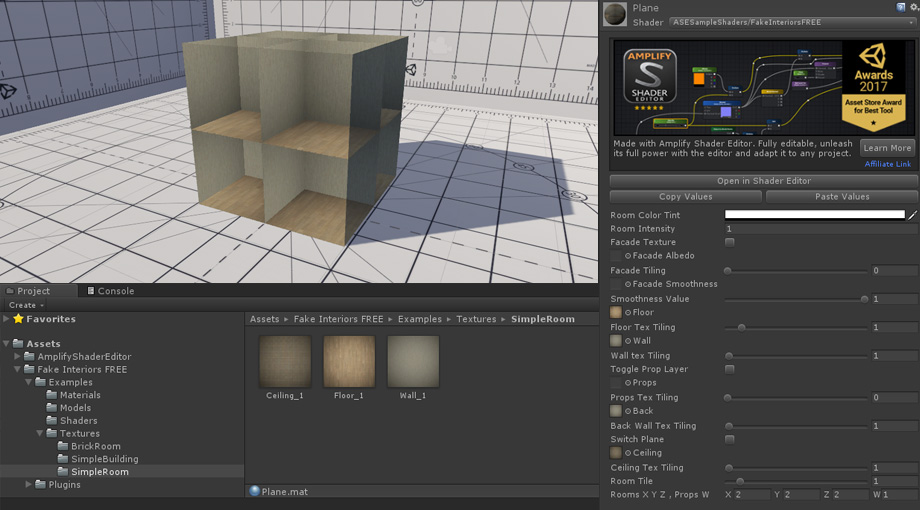
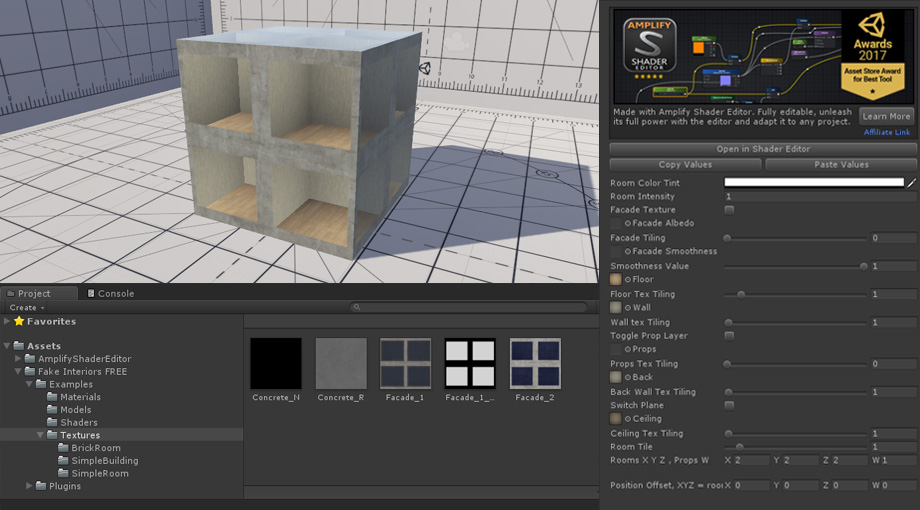
1. If you have not already, select the provided shader, Fake Interiors or Fake Interiors FREE, under ASESampleShaders. 2. Add the simple room example textures located under Fake Interiors FREE/Examples/Textures/SimpleRoom to the respective texture slots (Floor, Wall, Ceiling) 3. Set the textures tiling to 1. 4. Set the Room Tile to 1. 5. Define the amount of rooms by setting the individual multiplier values for XYZ to 2 under Rooms X Y Z, Props W, feel free to experiment with different room and texture tiling amounts. Alternatively, set the individual tile to 1 and use the Room Tile slider to multiply the amount of rooms.
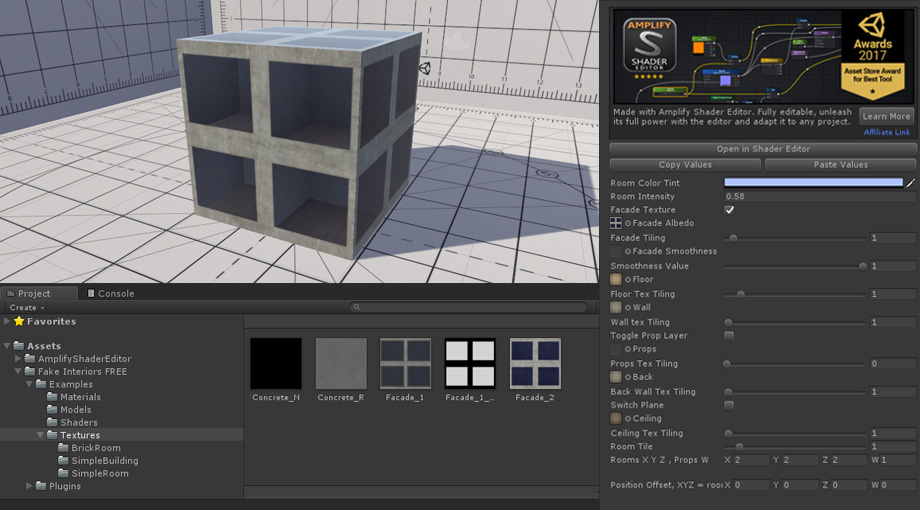
6. Optional Facade Texture.
7. Optional Tint and Brightness adjustment. CustomizationTexture Sets
The package includes a few room textures to get you started but they are entirely customizable. You could very well increase/decrease textures size and add additional wall textures to the same file for additional variations, it's entirely up to you. The same applies to Prop, Ceiling and Floor textures. Shader
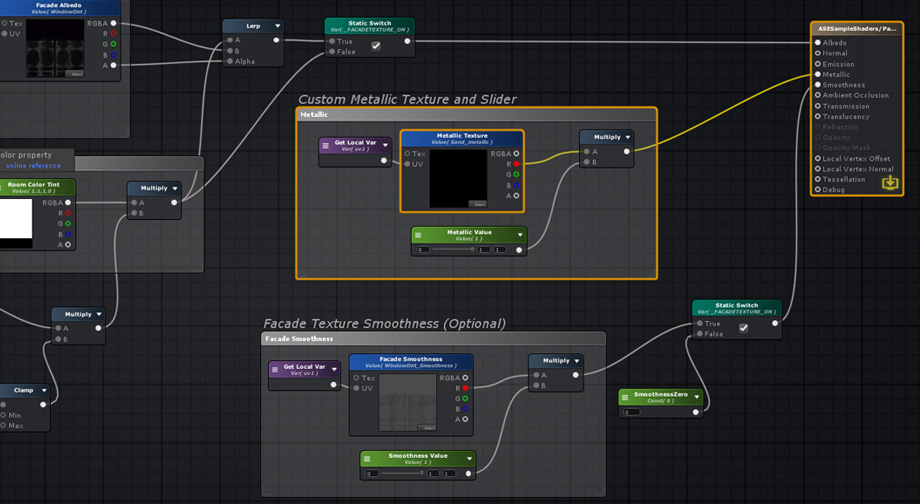
The Fake Interiors shader can be fully customized using Amplify Shader Editor. Adding additional textures or new effects is a only a few clicks away. Make it your own! |
